Bulk Invitation
The Bulk Invitation feature simplifies the process of adding multiple employees to the application by allowing you to send invitations in bulk.
To use this feature, you need to select multiple employees who have already been granted application access and possess all the required information for a successful invitation. Upon clicking the invite button, the web application will automatically send out invitations to each selected employee. These invitations will include a link that allows them to sign up and create an account on the application.
Bulk Invitation Criteria
- The Employee should have "Allow" and "Edit" access to "Employee - Application Access" permission to send the bulk invitations.
- You cannot send an invitation to an employee whose user status is "Accepted", "Denied", or "Pending".
- The Invite button remains disabled till you select at least one employee with the status "Not Invited"
- A valid email is a must for granting “Access to the Application.”
- To send an invitation to an employee, the following information is mandatory:
- First Name - Enter the first name of the employee.
- Last Name - Enter the last name of the employee.
- Employee Number - Enter the employee number.
- Home Time Zone - Select the employee's time zone. By default, it will display the time zone selected on the Localization settings. Note that you can change the time zone settings for each employee and save.
- Work Email - Enter a valid work email address.
- Application Access > Employee can access the application checkbox - The checkbox is enabled by default. A work email ID is a must if you want to save an employee who has the "employee can access the application" checkbox checked.
- Role - The "Employee" is the default role. You can select another role also. A new role is added on the Add Role screen. By default, the dropdown will show administrator, manager, and employee roles.
Adding Employees
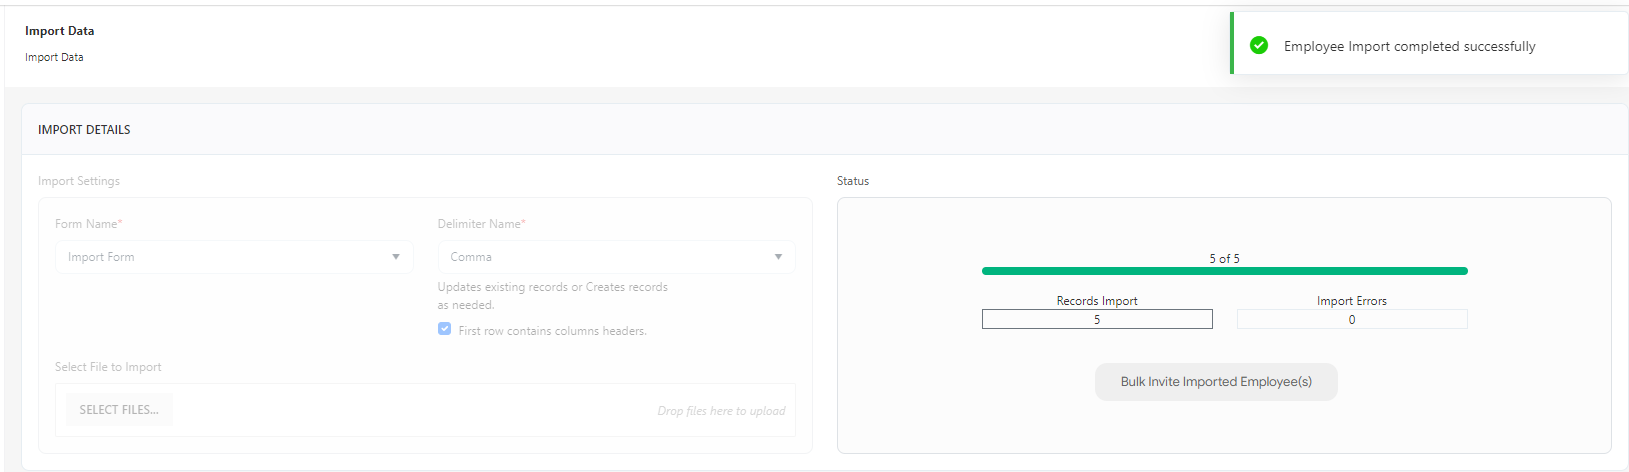
The recommended approach for adding employees in bulk is to utilize the import data screen. This feature allows you to import employee data in bulk, and after a successful import, you can use the "Bulk Invite Imported Employee(s)" button to navigate to the View Employee screen. From there, you can send bulk invitations to the imported (plus Not Invited) employees.
However, it's important to note that you can also add employees individually via the New Employee screen. In this case, invitations are sent out one by one as each employee is added to the system.
Refer to the topic Import Data and Add Employees for more details.
Sending Bulk Invitation
Sending a bulk invitation after importing the employees:
- Click on the Bulk Invite Imported Employee(s) button on the Import Data screen.
- The page will navigate to the View Employee screen where the list will be filtered in such a way that the employee displayed on the view screen will be all with "Not Invited" status. This will also include the imported employees.
Note: You can also clear the filters to see the complete employee list.

- Alternatively, you can access the View Employee screen by clicking on "Employees" on the main menu.

Note: Make sure that "Show All" is selected on the "View this list as" dropdown so that you can correctly send bulk invitations.
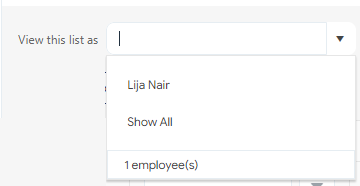
For more details on "View this list as" and "View Employee List From", please refer to the topic View this list as.
- On the View Employee screen, filter the "User Status" column by the status "Not Invited".

The employee list will get filtered and it will display the employees with the status "Not Invited".
- Select all the employees and check the checkboxes. Checkbox selection enables the Invite button.
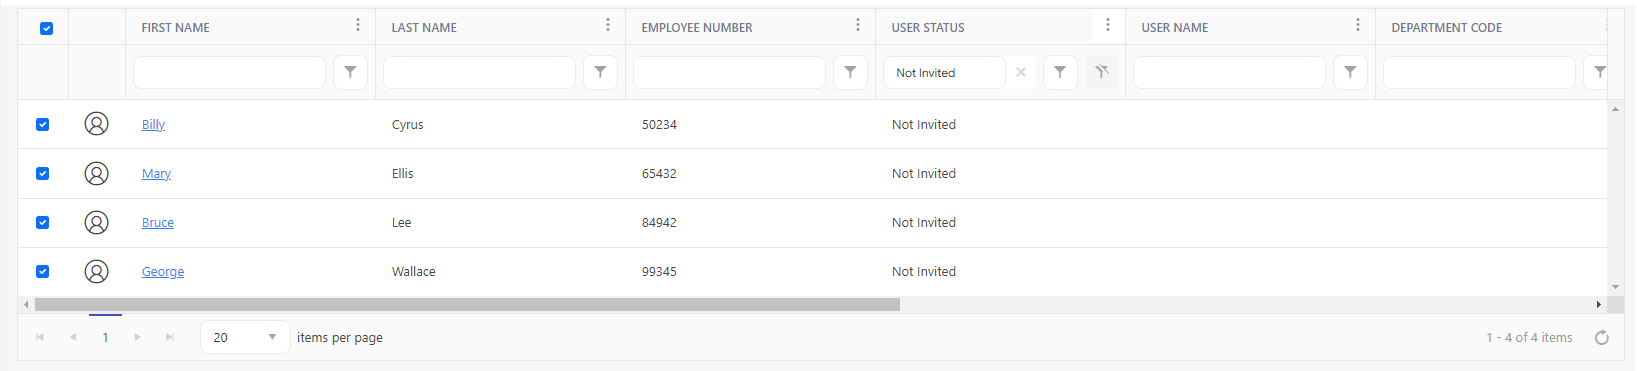
Note that the Invite button will remain inactive until you select at least one employee with the user status "not invited".

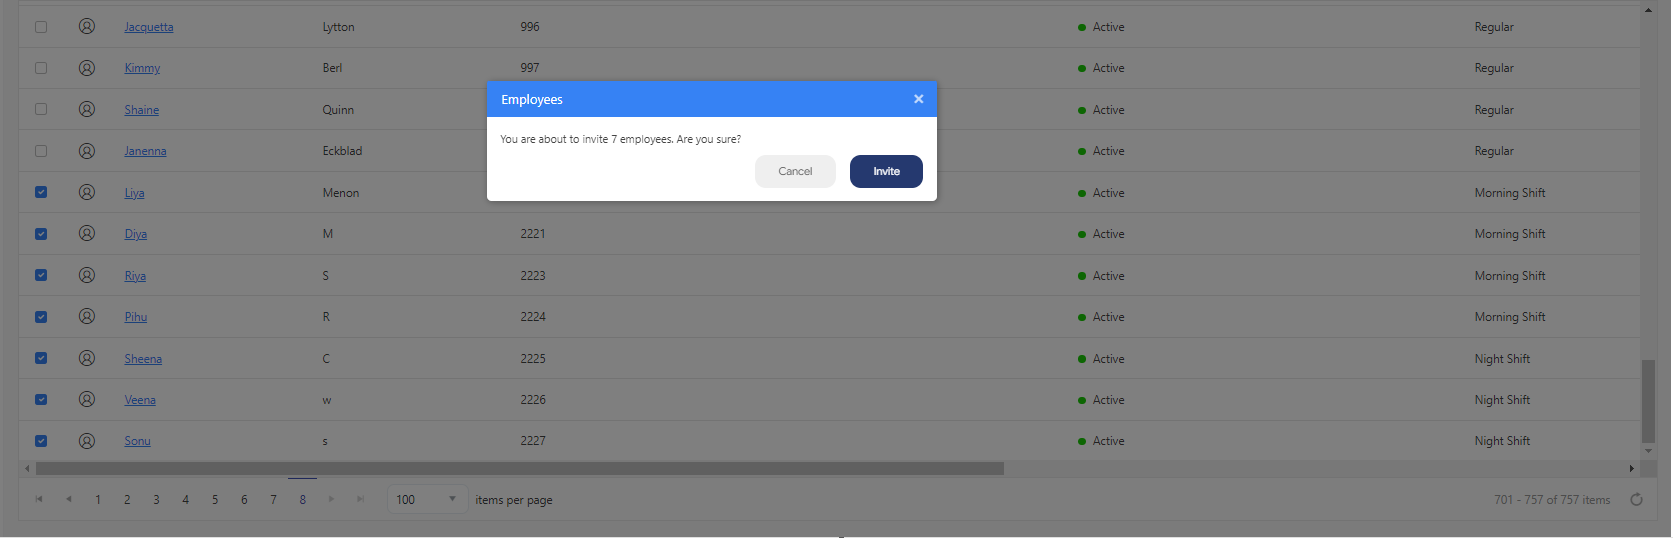
- Click on the Invite button.
- Click on Invite again on the confirmation message. Use cancel to cancel the process.
- A message will appear showing that the employee invitation is in progress and also a progress bar will appear showing the progress. On completion, the progress bar will show the number of successful invitations.

- Sending bulk invitations may take some time to complete. The application will process the invitations in the background, allowing you to navigate to other screens and continue working on other activities. Also, you will be notified if you try to invite an employee while a bulk invitation is currently in progress. After sending the bulk invitation, the status changes from "Not Invited" to "Pending".
Note: If an import is in progress, you cannot start the bulk invite. If an invitation is in progress, you cannot start an import.